
Starting a creative project is exciting. Finishing it can be harder. A project may grow too large, lose direction, or stall when you are unsure what to do next.
A simple workflow can help you move from an idea to a finished result. You do not need a perfect plan or expensive equipment. Start with a clear outcome, keep the scope manageable, and make progress in small steps.
1. Choose one idea
Write down a few ideas, then choose one that interests you and fits your available time and resources.
A broad idea such as “make something for my home” is difficult to start. Make it more specific:
- Broad: Make something for my home
- Clearer: Make a decorative wall piece
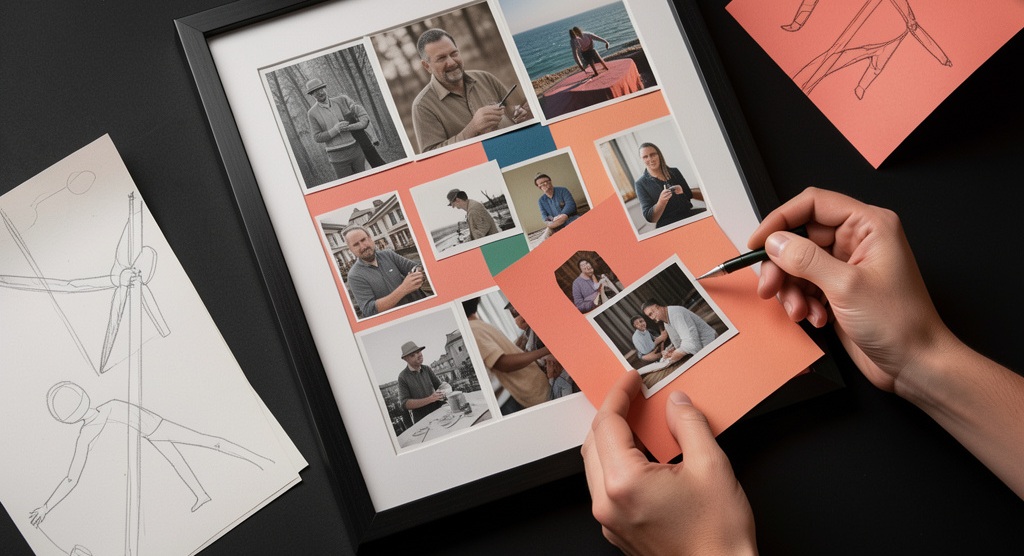
- Specific: Create a small framed collage using photos and paper I already have
A specific idea gives you a clearer first step and makes it easier to decide when the project is finished.
2. Define what “finished” means
Before you begin, describe the result you want. Keep the description simple and realistic.
For example:
I will make a framed collage with six images, a title, and a finished frame that I can hang on the wall.
This gives you a finish line. It also helps you avoid adding new features every time you think of another possibility.
You can keep a separate list of ideas for a future version. That way, you do not have to abandon them, but they do not keep expanding the current project.
3. Break the project into small steps
Divide the work into actions you can complete one at a time. A project plan might include:
- Choose the format and size.
- Gather or create the materials.
- Make a rough layout.
- Complete the main work.
- Review and make final adjustments.
- Prepare the finished result.
Write steps as actions, not vague goals. “Work on the project” is difficult to act on. “Choose six images” gives you a clear next move.
4. Check your materials and limits
Make a short list of what you need. Separate what you already have from what you may need to find or buy.
Set a reasonable limit for time, money, and space. If the project depends on materials you do not have, look for a simpler version before making a large purchase. You can also test an idea with spare materials or a small prototype.
The purpose of this step is to make the project easier to start, not to collect every possible tool or supply.
5. Schedule a first work session
Choose a time for the first session and give yourself one small task. A session might be as short as 20 minutes.
For example:
- First session: collect reference images
- Second session: make a rough sketch
- Third session: build or create the first version
A small appointment is easier to keep than a plan to “work on it whenever I have time.” If you cannot finish a task in one session, divide it into smaller parts.
6. Make a rough first version
Start with a simple version that shows the main idea. It does not need to look finished.
A rough version helps you notice problems early. You may discover that the size is wrong, a step takes longer than expected, or the original idea needs to change. It is usually easier to adjust a sketch, sample, or draft than a fully completed project.
Focus on making the next useful part. Try not to polish details before the main structure works.
7. Review and make focused improvements
Step away briefly, then look at the project with fresh eyes. Ask yourself:
- Does it match the result I planned?
- What is working well?
- What is the one change that would improve it most?
- Is there anything important missing?
Choose a small number of improvements. Trying to perfect every detail can keep a project unfinished. When the result meets your original goal, stop adding new requirements.
8. Finish, document, and share if you want
Complete the last practical details: assemble the parts, save the files, clean the work area, or prepare the finished object for use.
Take a photo or write a short note about what you made and what you learned. This gives you a record of the result and helps you remember what you would do differently next time.
Sharing the project is optional. You can show it to friends, post it online, or keep it private. The important part is recognizing that you completed it.
If you lose momentum
Creative projects often pause for a while. Instead of restarting the whole plan, look at the last completed step and choose one small next action.
If the project feels too large, reduce its scope. If a material or technique is blocking you, try a simpler option. If you have lost interest, decide whether to finish a smaller version or set the project aside deliberately.
A simple project checklist
- Choose one idea that fits your time and resources.
- Describe what the finished result will be.
- Break the project into small actions.
- Check what you already have before buying more.
- Schedule a short first session.
- Make a rough version before polishing details.
- Review the result against your original goal.
- Finish the practical details and record what you learned.
A creative project does not need to become a major commitment. Choose a manageable idea, keep moving through small steps, and let the finished result teach you what to try next.